Unusual Tips for Hanging Pictures
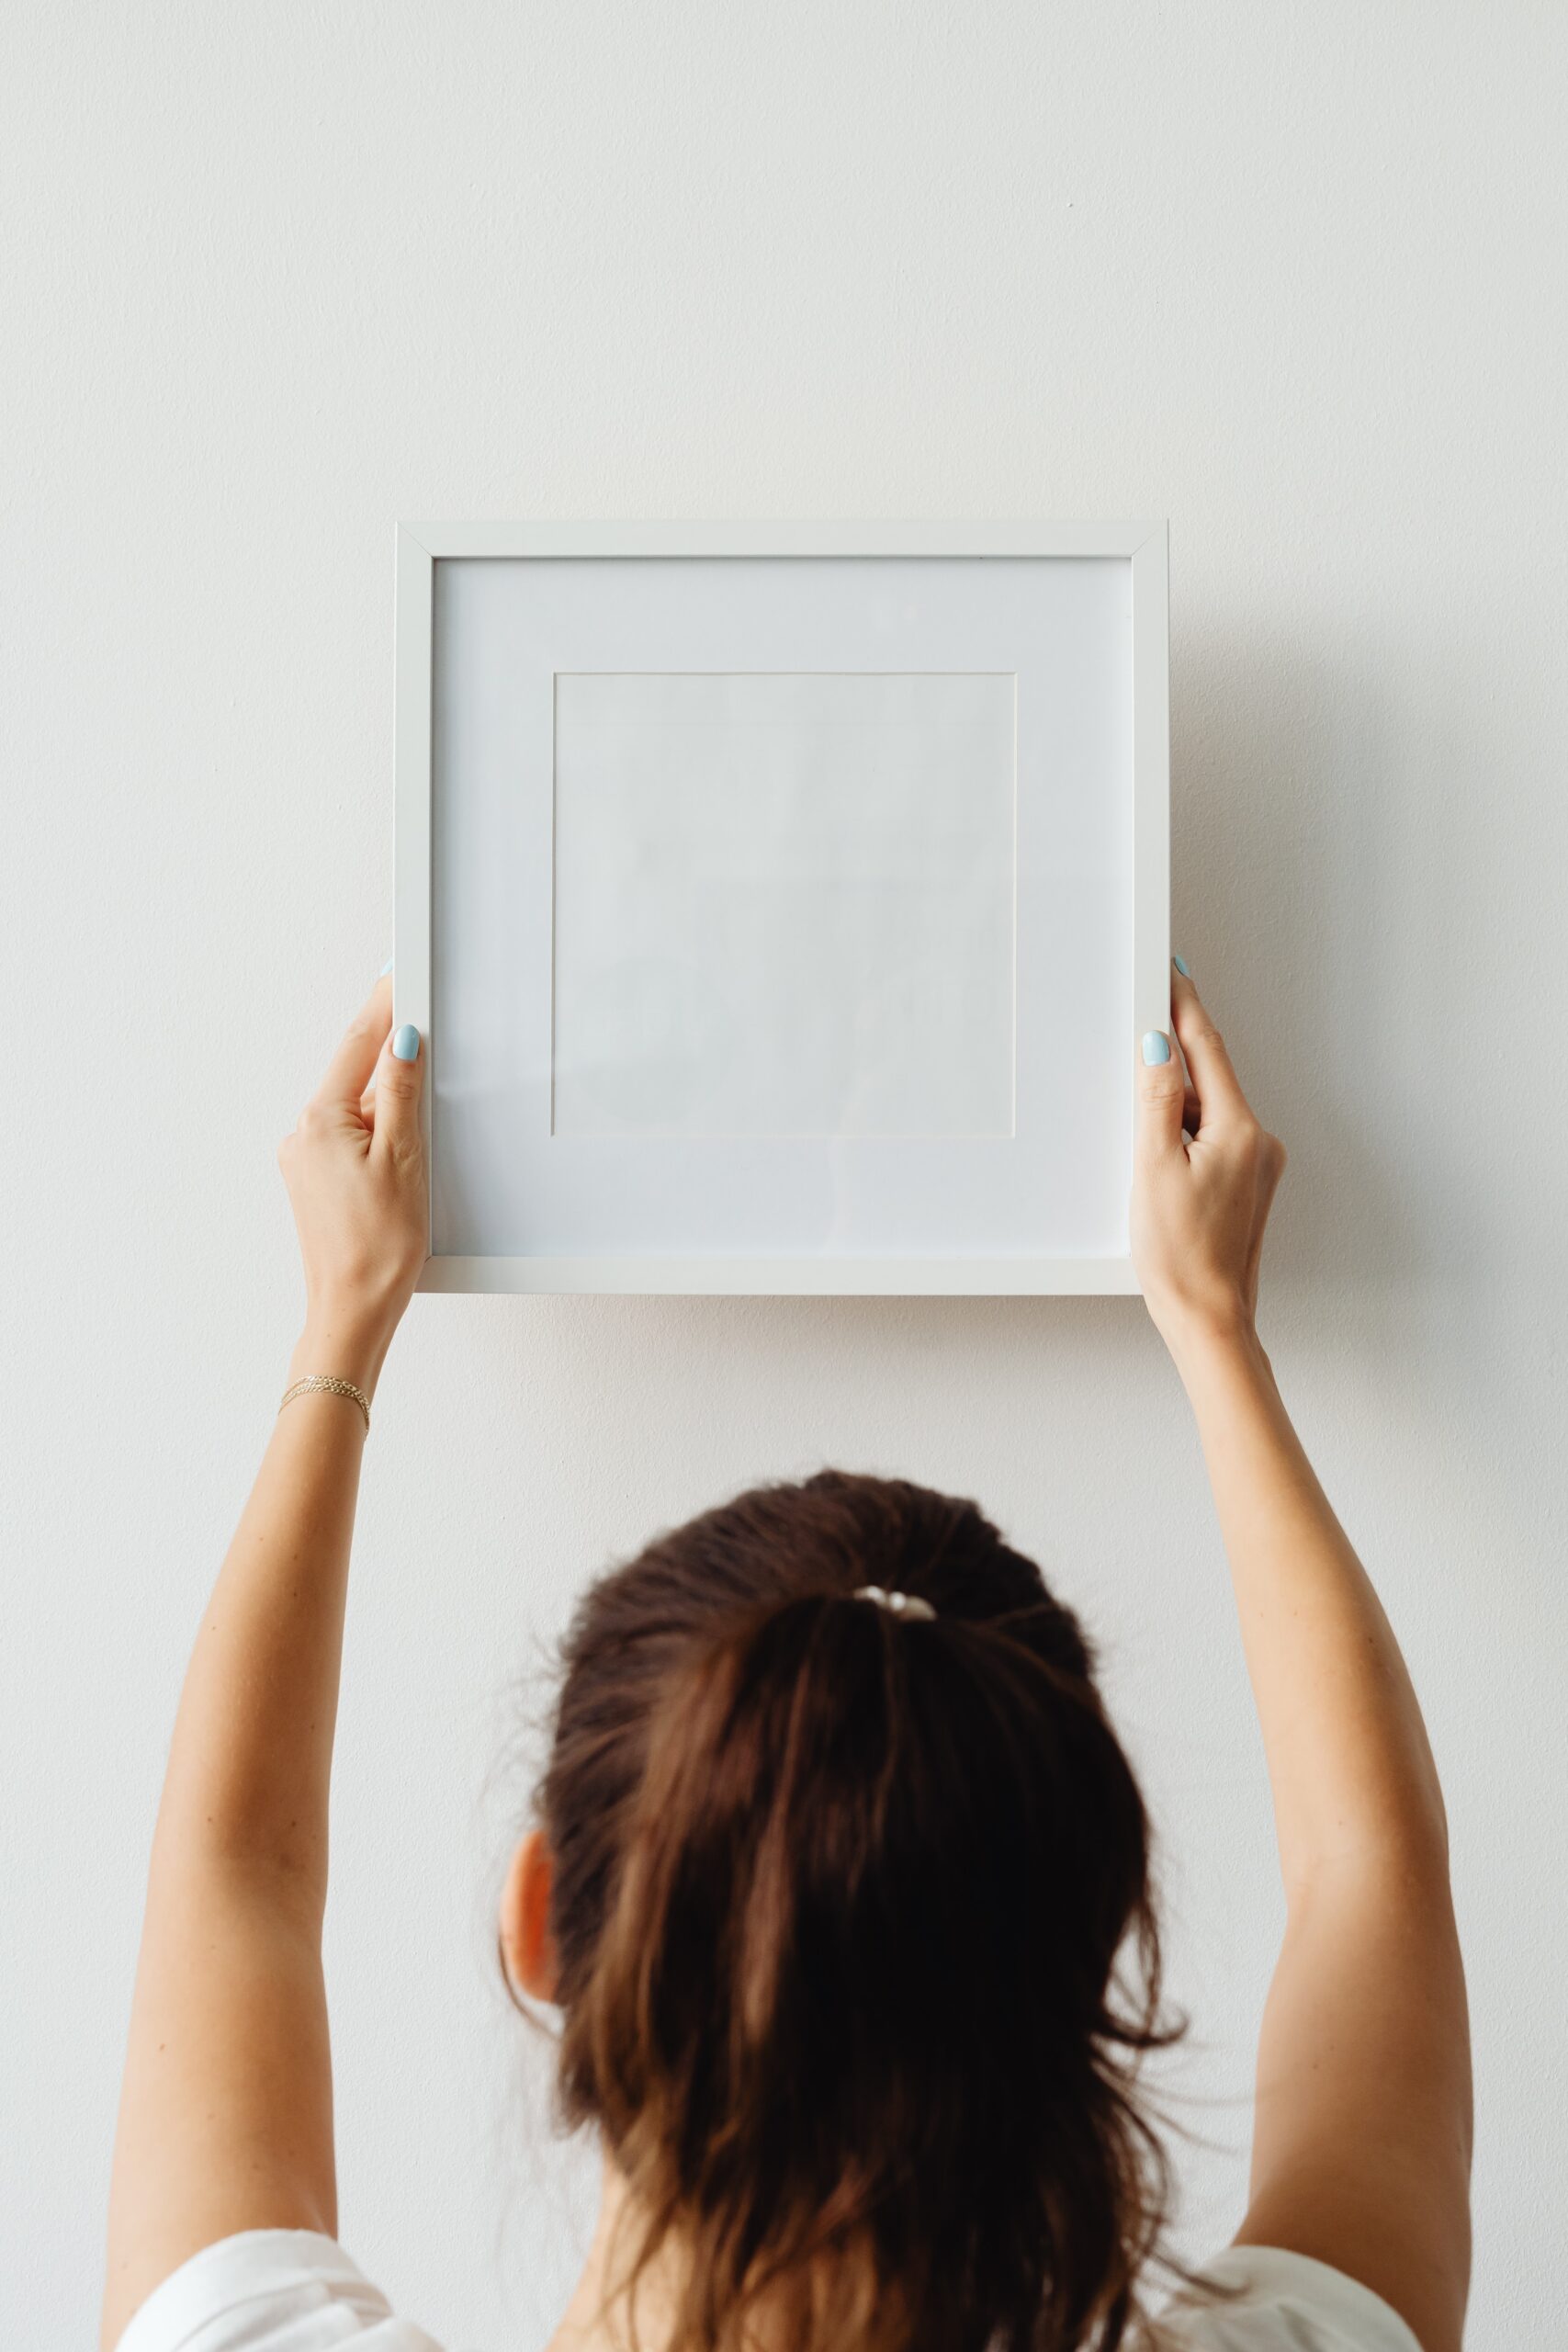
Read to learn unusual tricks that yield results!

Do you need an easy way to hang pictures that anyone can do? Then you’ve come to the right place! Not only do I go over simple, effective methods, but I show you how to do it right the first time. These tips for hanging picture are a game changer!
Trust me, I’ve struggled hanging decor for years. I would either make way too many holes in the wall or try and wait for my husband to help me. Even with my husband’s help, one of us would end up frustrated, wanting to pull our hair out! Over time, I leanred some tricks that make the whole process easy.
First and foremost, before you start to hang anything, you need to determine whether you’ll need an anchor (and a screw) or simply a nail.
Screws vs. Nails: Which one should I use?
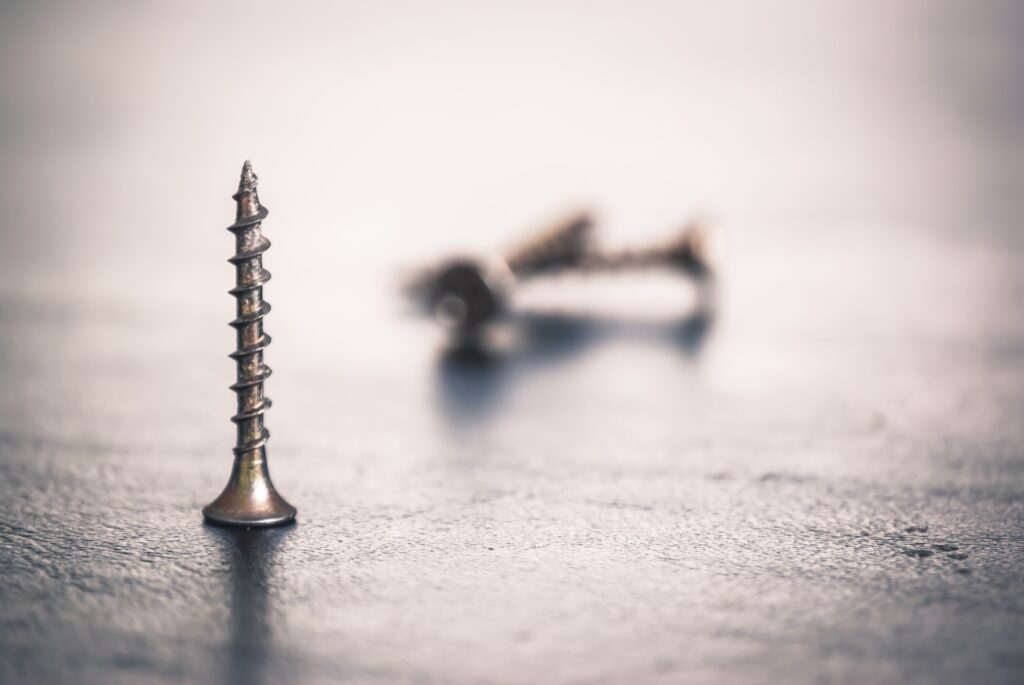
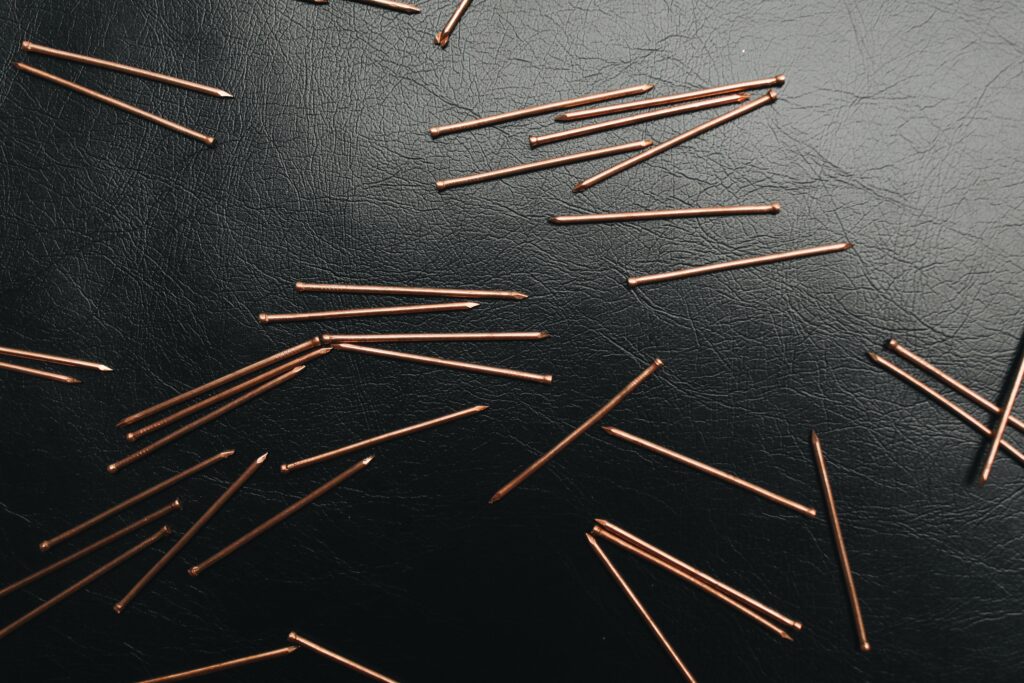
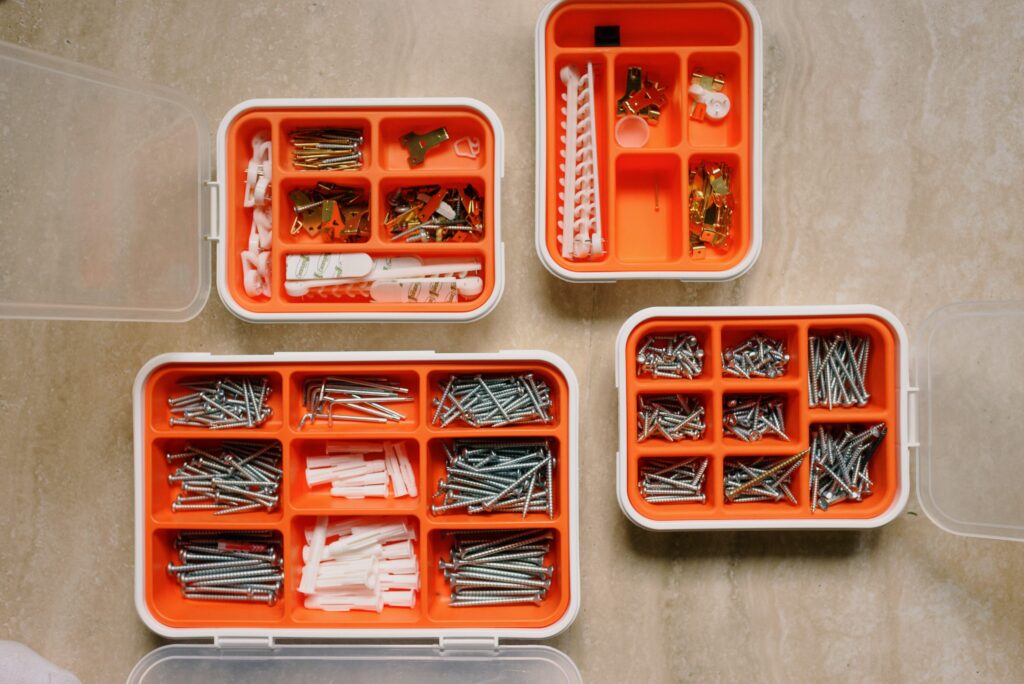
Deciding whether you need a screw or a nail can be tricky if you’re new to using tools or doing projects. But in reality, it’s quite simple!
Screws are only needed if you’re hanging something heavier like a mirror or a shelf. Due to its weight, you’ll need to place an anchor into the wall (this holds the weight) if there isn’t a stud. Once the anchor is in, you screw in the screw which will then hold the item you’re hanging.
Nails are used when you’re hanging something that doesn’t weigh very much, like picture frames.
No matter which one you’re using, these hanging tips are useful!
Tape Hack
This tape trick is my favorite! All you need is painter’s tape, a level, and a pencil!
- First, you’ll turn the object you want to hang on its back. For this explanation, we’ll use the example of a picture frame. On the back of the picture frame, there will either be one or two holes.
- You’ll take your painter’s tape (other tapes might peel the paint off your wall) and cut off a piece as long as your frame.
- Line up this piece of tape with where the holes are located on the back of the picture frame.
- Then take your pencil and mark where the hole(s) are.
- You’ll take that marked piece of tape and place it where you’re wanting the picture. I like to use my level to make sure the piece of tape is straight. You definitely don’t have to, but I like taking the extra step to make sure it’s perfect.
- Once you’re happy with the tape placement, you’ll take your nail and hammer it into the dot marked.
- Remove the tape and hang your picture frame. That’s it, so simple and easy!
Toothpaste Hack
Toothpaste? You’re probably thinking, did I read that right? Yes, you did! This trick might sound crazy, but I swear, it works!
It’s very similar to the tape hack (see above). We’re going to use the example of a picture frame again. You’ll turn the picture over and find the two hole(s) for hanging. This time, however, you’ll grab your toothpaste and put some toothpaste on each hole.
Grab your picture and find where exactly you’ll want to place it on the wall. Push the picture frame against the wall and the toothpaste will leave its mark. Wherever the residue is, is where you’ll hammer in the nail.
Simply, wipe the toothpaste off the wall once the nail is in, and hang your picture! It may still sound crazy, but give it a try! It might surprise you!
That’s it!
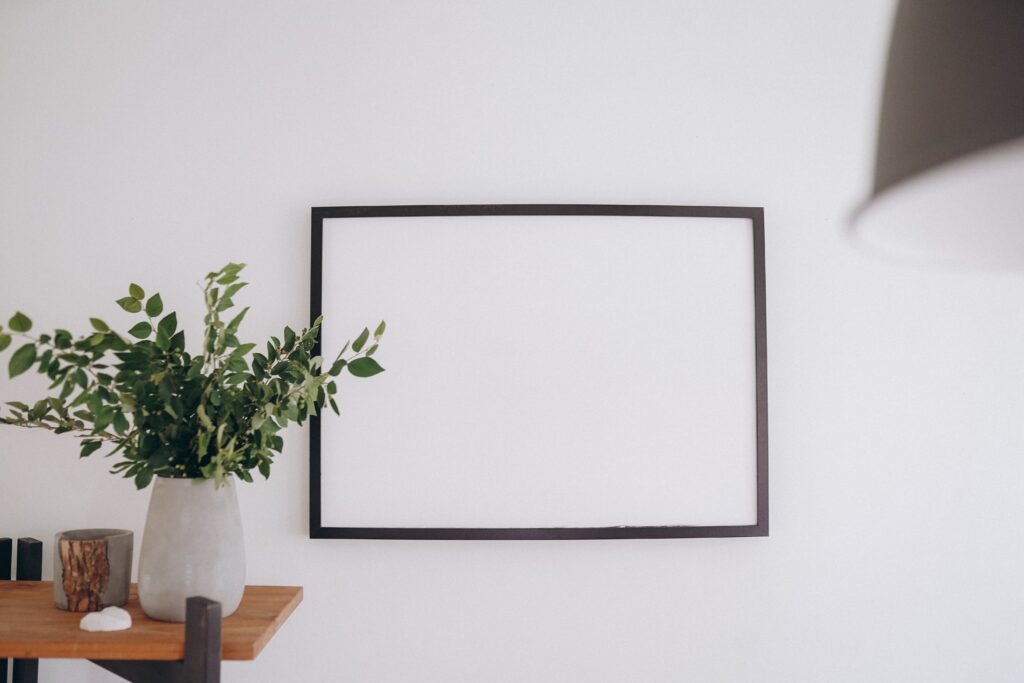
These two tips for hanging decor will make your life so much easier. Not to mention, you won’t have a bunch of holes you need to cover up.
In our first apartment, we had holes and pencil marks everywhere. I had no idea what I was doing. Trying to measure the distance from the floor to where I want my picture or even trying to make a picture that need multiple nails level felt so frustrating! This will eliminate those problems. It will make your projects faster, cleaner, and make you feel like a pro!


How to Create a Budget-Friendly Gallery Wall - Happy Hudson Home
[…] can start hanging each picture frame! *If you want tips and tricks for hanging pictures, I have a blog post dedicated to just […]