How to Upgrade your Decor
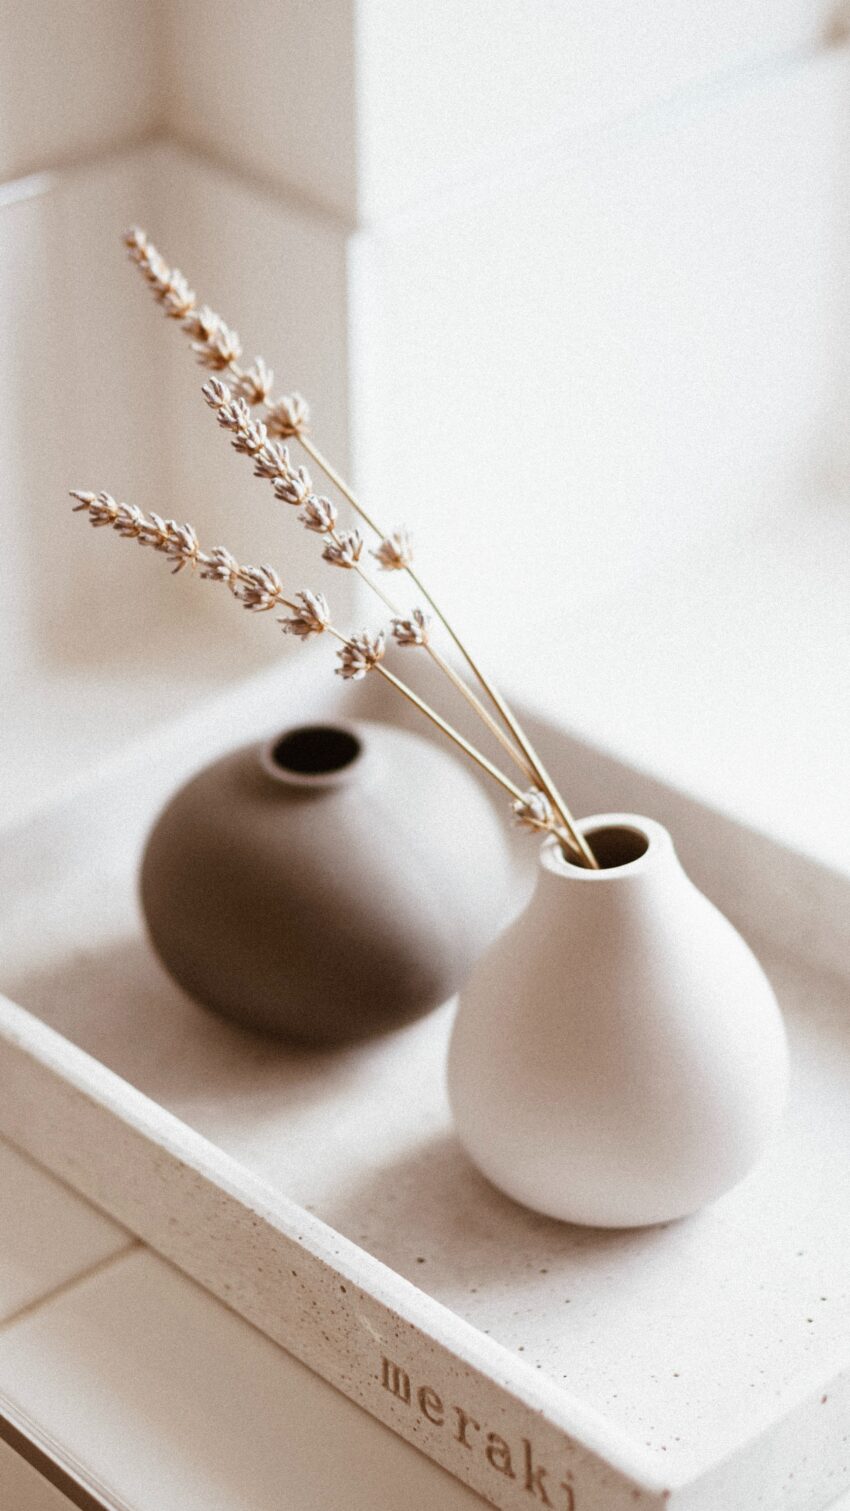
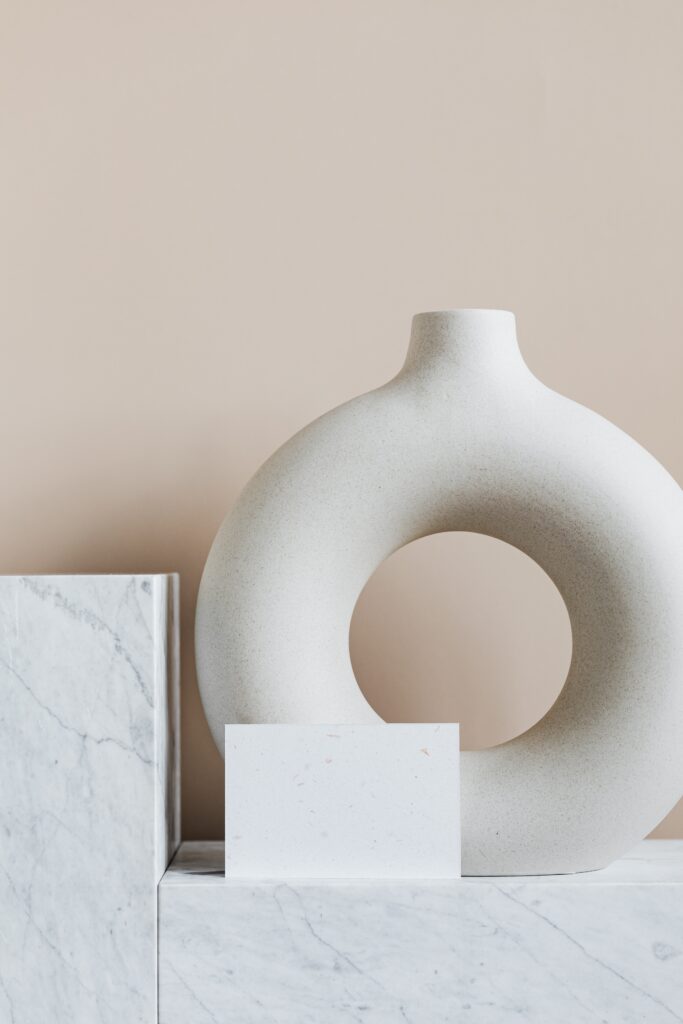
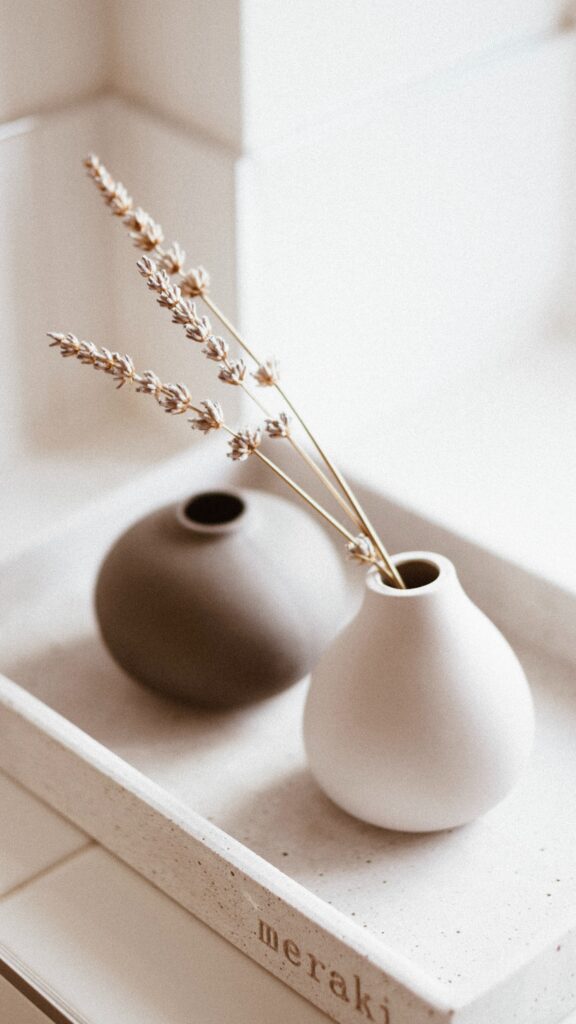
I love scrolling through Pinterest and Instagram seeing beautiful lamps, vases, or simple pieces of decor. But whenever I click on the list, they’re so expensive!
So then I sit there trying to find a more affordable option or attempting to convince myself that I don’t need it. Either way, I always end up feeling a bit deflated and frustrated.
Then one day, I decided I had enough! I deserve to have pieces I love in my home without breaking the bank. So I found a way to create these pieces for next to nothing.
Step 1: Find your Starting Object
First things first, I went to my local thrift stores (or you can even check the dollar store). I searched for objects that I could see potential in. One of my first creations was this huge lamp. I loved the size and shape and I knew I could turn it into something I would love and be proud of. Not to mention, it was only $5!
Step 2: Prep the surface
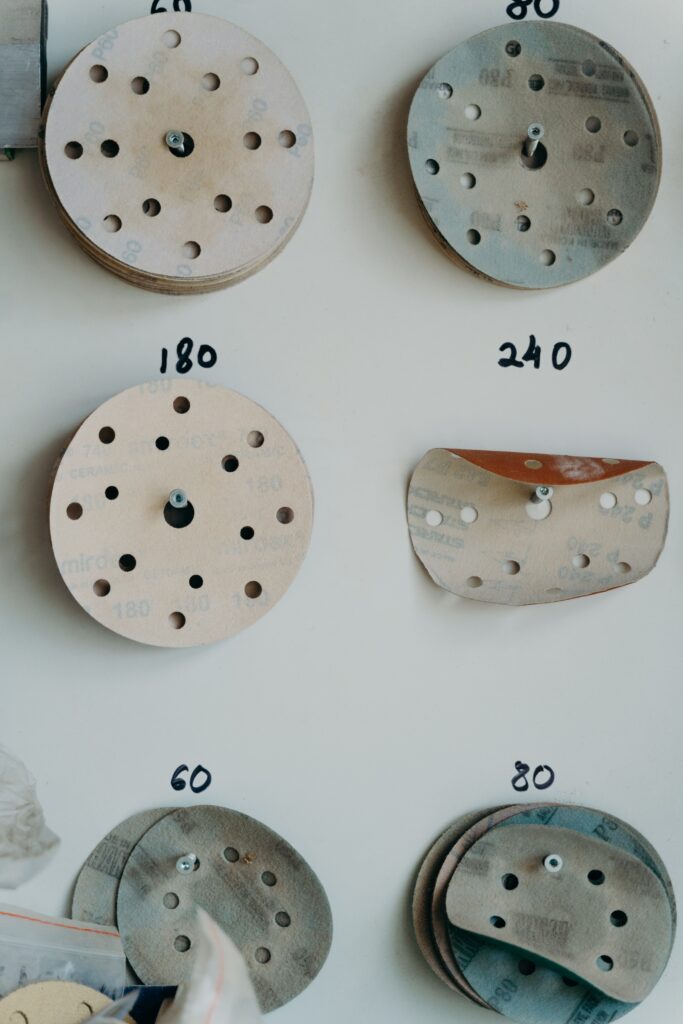
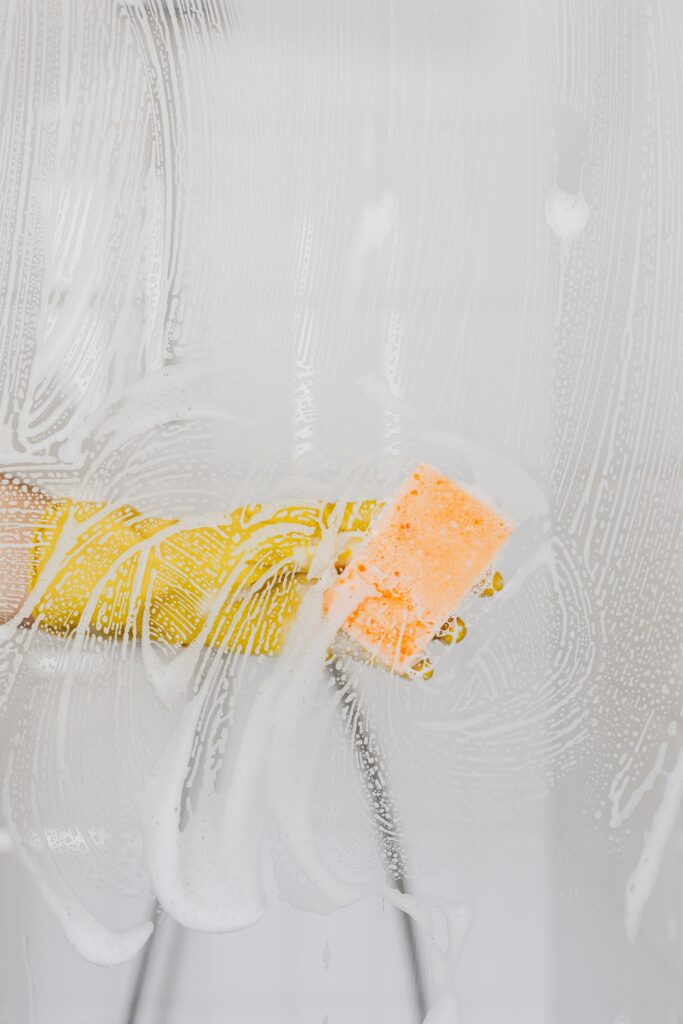
I went home and lightly scuffed the surface with a sanding sponge. You don’t need anything corse, you don’t want to damage the object (I used 220 grit). You simply need to roughen the surface slightly so the paint will have something to hold onto. Next, I cleaned it with soap and water.
Once the lamp was completely dry, I taped off the parts of the lamp I didn’t want to paint. Mainly, the cord, the base and the harp. So only the body of the lamp was exposed.
Step 3: Paint
Now the lamp (or whatever object you’ve chosen) is ready to paint! There are two different types of paint you’ll want to use.
You’ll begin by painting the lamp with a primer. This will help your overall design to last over time. My favorite thing to use is a spray primer. You can get it at any hardware stores or even at your closest Walmart.
You’ll want to paint it somewhere where there’s good ventilation and you don’t mind getting dirty. I usually go into my garage or back yard (depends on the time of year). And don’t forget to put cardboard or plastic down so you don’t paint more than the lamp!
Then I lightly spray the lamp with primer and let it dry according to the instructions on the paint.
Once it’s dry, you can start to get creative! For this step you can use whatever you have on hand. I’ve used leftover paint from my previous projects or even acrylic paints I’ve found at Walmart for less than $2! Use whatever is easiest for you and of course whatever color suits your desires outcome.
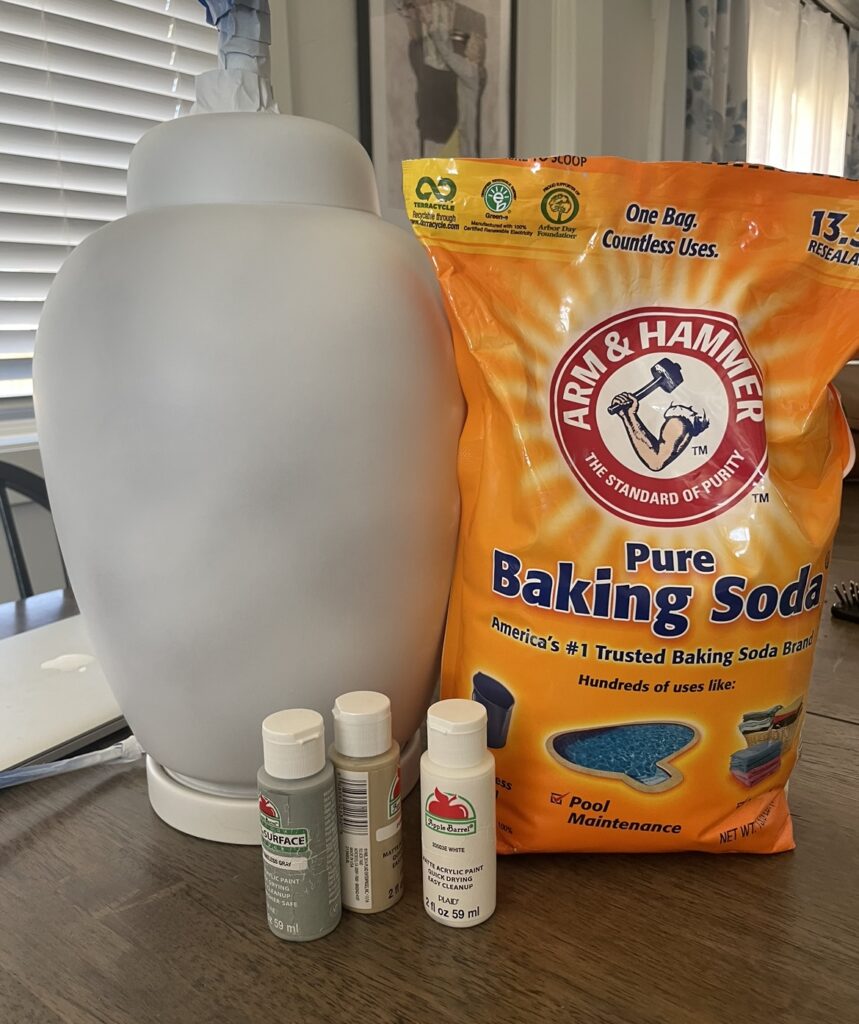
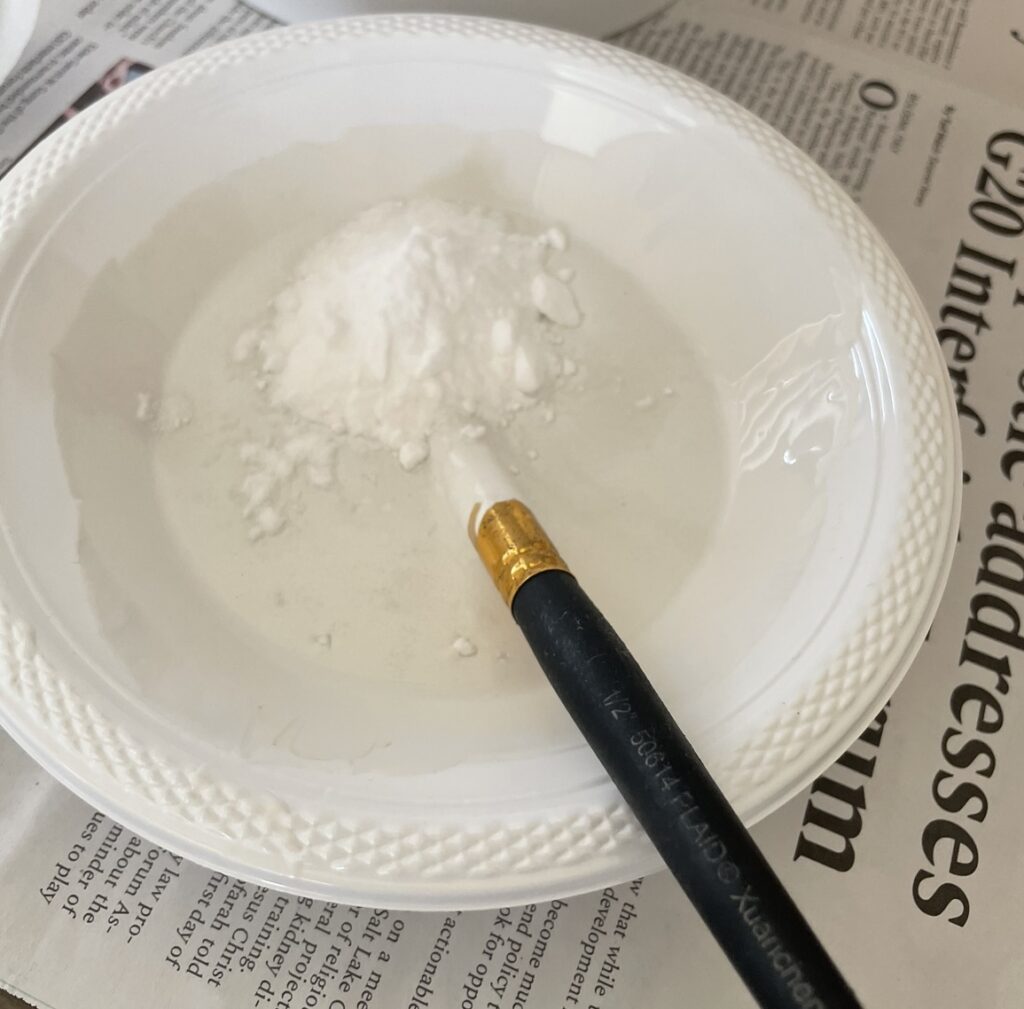
Now that you have your color and paint picked out, let the fun begin! You can simply start painting an even coat all over your object or you can add texture to your paint by mixing it with baking soda.
That might sound crazy, but believe me, it works! If you’re wanting your object to have the pottery look to it or simply have some texture, take some baking soda and mix it into your paint until you have your desired consistency. I love using this trick. It makes the piece look more expensive!
Whatever you decide, using normally paint or giving it some texture, you’ll mostly likely need to give your object 2-3 coats. Just make sure you let the paint dry completely in between coats!
Get Creative
Depnding on the look you’re going for, you can get creative and use whatever is around you to upgrade your piece. On one of my projects, I used dirt. Yep, you heard that right, DIRT! And let me tell you I loved it!
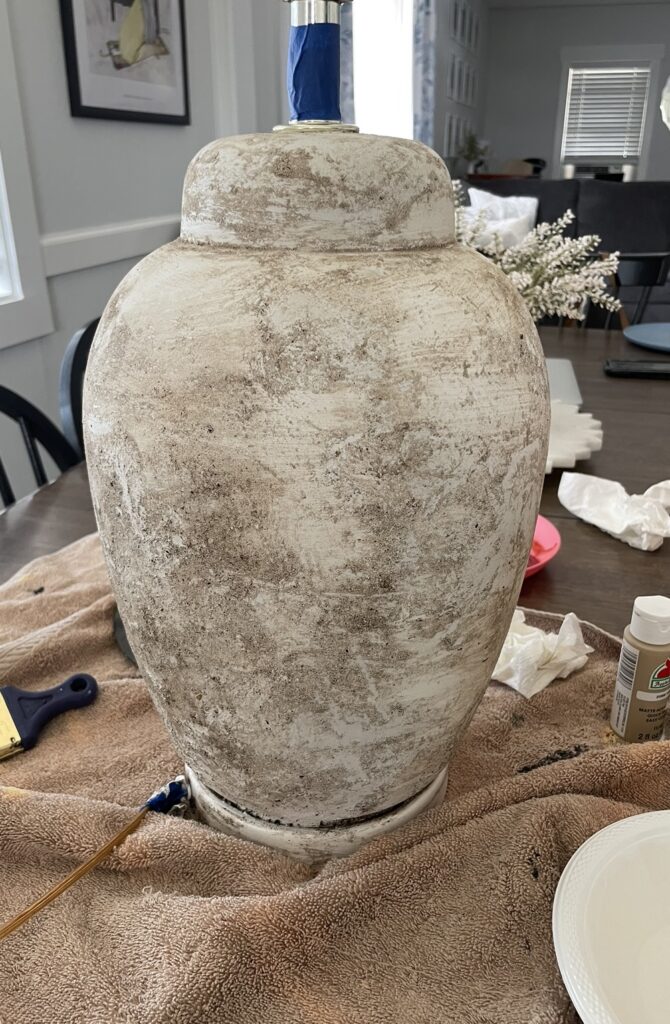
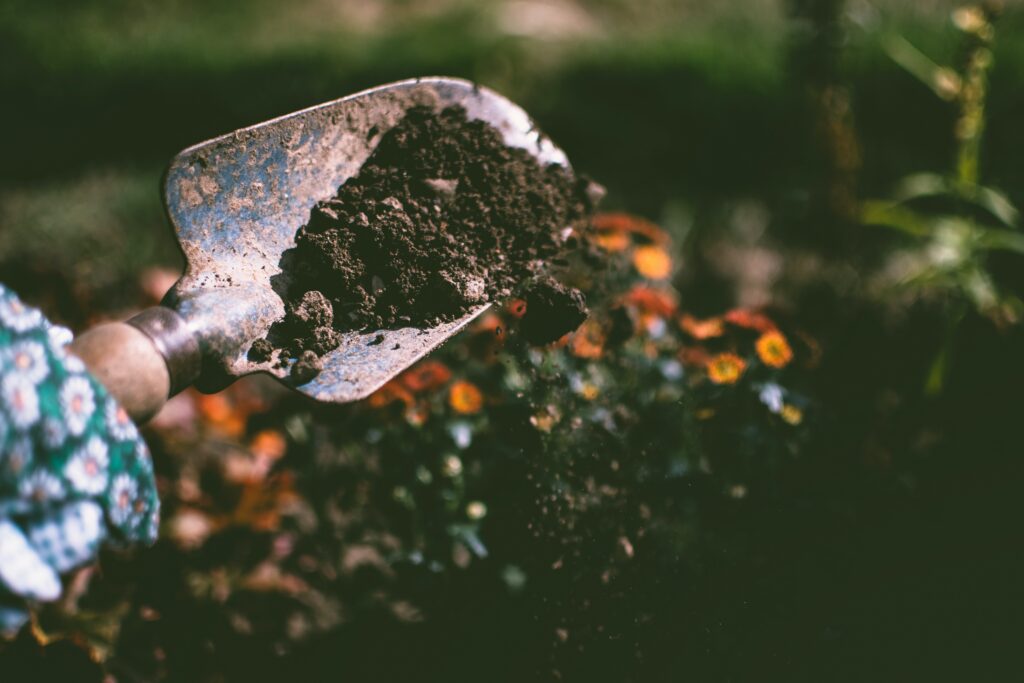
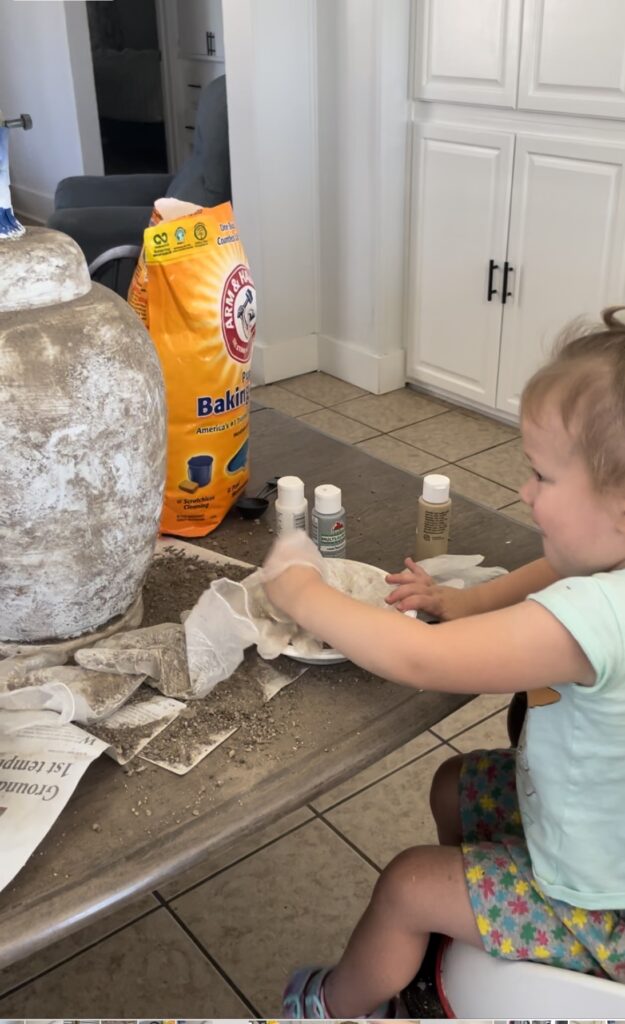
On my last coat of paint, I waited until the lamp was mostly dry and then grabbed a bowl of dirt from my back yard. I put gloves on and sprinkled/smushed dirt onto my lamp. It gave it this vintage, worn looked that was perfect for my design.
After the dirt hardened onto the lamp, I took a damp sponge and light cleaned the lamp. Then I went through touching up the painting until it was the look I wanted.
Finishing Touches
Once you’re happy with your piece don’t forget to seal it! I love this polyacrylic top coat that you can use to make sure your design doesn’t fade over time.
Also, don’t forget about the lampshade. If you’re not in love with the shade you can easily upgrade it by buying one at any local Walmart or Target or even Amazon. It’s such a simple way to complete the look!
It’s that easy! Find an affordable object, prep and clean it, cover in primer, paint it, add some finishing touches, seal it and then get ready for all the compliment coming your way!
I’ve had mine for over a year and I still get questions about where I got it. I love this painting hack and I’ve used on so many different object from lamps to vases to bowls. It’s the best!
Give it a try and let me know how your pieces turn out!

