How to Create a Budget-Friendly Gallery Wall
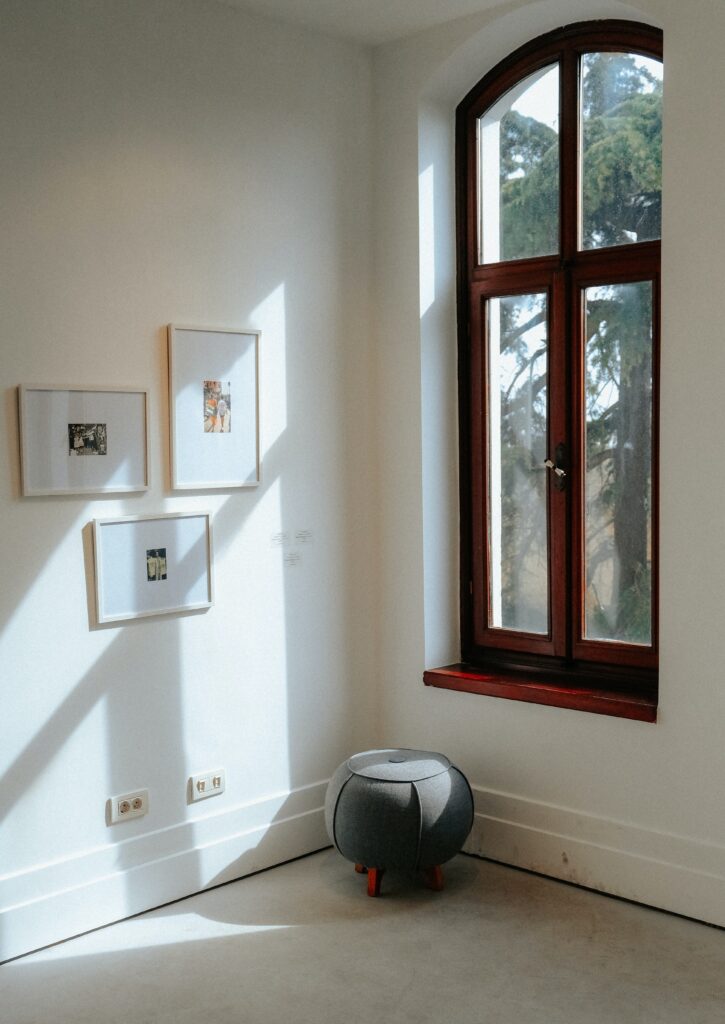
Who doesn’t love a good gallery wall? I know I do! Not only is it a great way to add design to an empty wall, but it also gives your home some personality and character. It allows you to showcase the people and memories you love and cherish.
Sounds amazing, right?! It definitely is, but it can be costly! That’s where I come in. Here are some innovative ways to create a gallery wall you love without breaking the bank!
Step 1
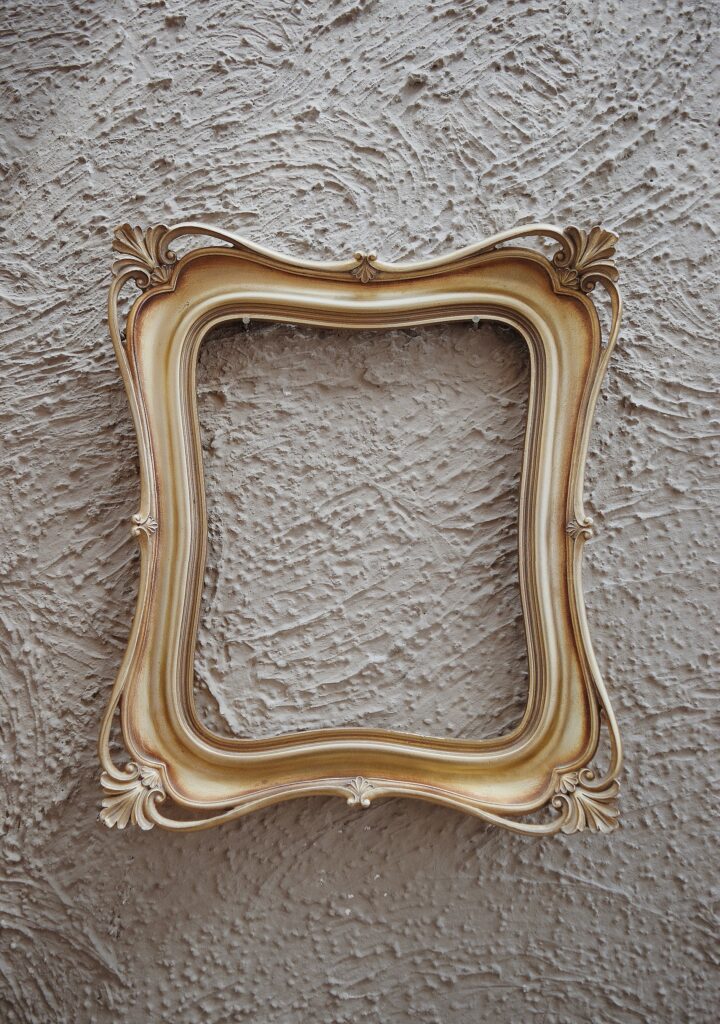
First, I like to find a frame that I love and essentially want to base the rest of my design on. For this particular project, I found mine at Hobby Lobby. I wanted a larger-scale gold picture frame ( because let’s be honest, who doesn’t love a touch of gold?). But I still didn’t want to spend a lot of money on this piece since I was going to be needing a lot more materials for this design. Luckily, a lot of stores have good deals, especially Hobby Lobby. I waited until all frames were 50% off and purchased mine for only $25!
Step 2
Next, I searched my home for old or unused picture frames. Before going to the store to buy new ones, see if you can repurpose the ones you already have! It could save you lots of money! And don’t worry if they don’t fit into the look you’re going for, there are always ways to change that.
You can easily give the picture frame a makeover using paint, rub n’ buff, and molding clay… the sky is the limit! (Click here to check out my favorite rub n’ buff; a little goes a long way!) For my particular gallery wall, I took some frames I already had and sprayed the edges with gold metallic spray paint. They ended up matching my Hobby Lobby frame perfectly!
Step 3
Once you’ve gone through your personal collection, it’s time to go shopping! Kind off… Before you go off running to any store, check your local thrift store. This is where the fun begins! I went in already having some gold frames back at home. I knew I wanted some diversity, so I began looking for some rich brown frames and even some black ones.
Not only do the colors matter, but don’t forget to have different sizes! I had a large 11×14 frame and two 8x10s at home. I was able to find a variety of sizes, ranging from 5×7 to 8×10 and not to mention some beautiful coordinating colors. With the frames being $1.00 or less, I left with the rest of the frames for my gallery wall and spent less than $8! Now that’s impressive!
Step 4
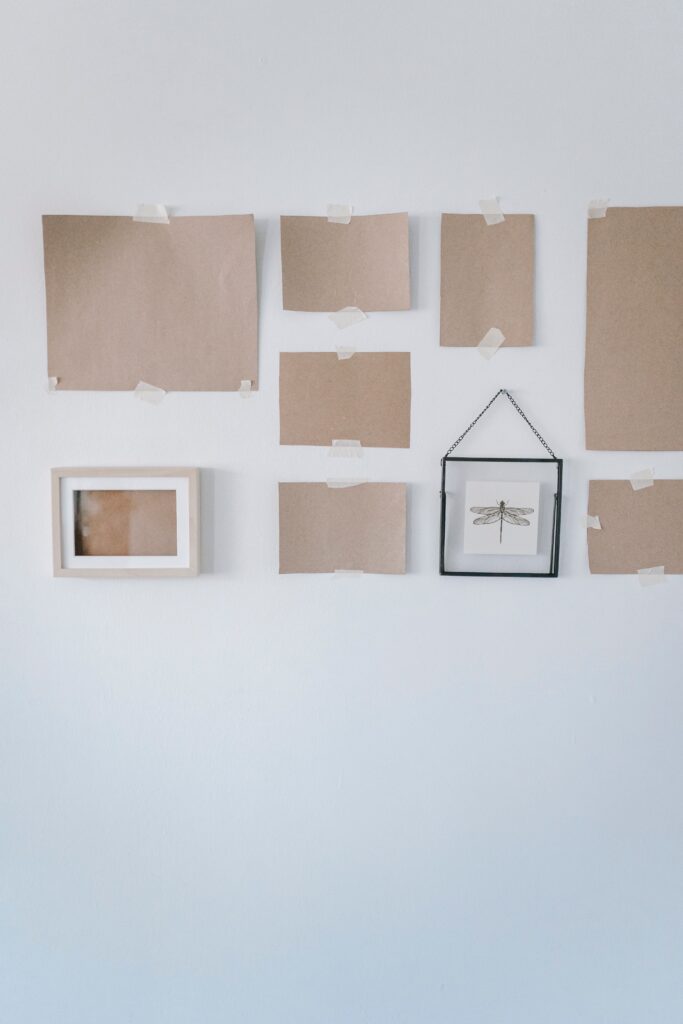
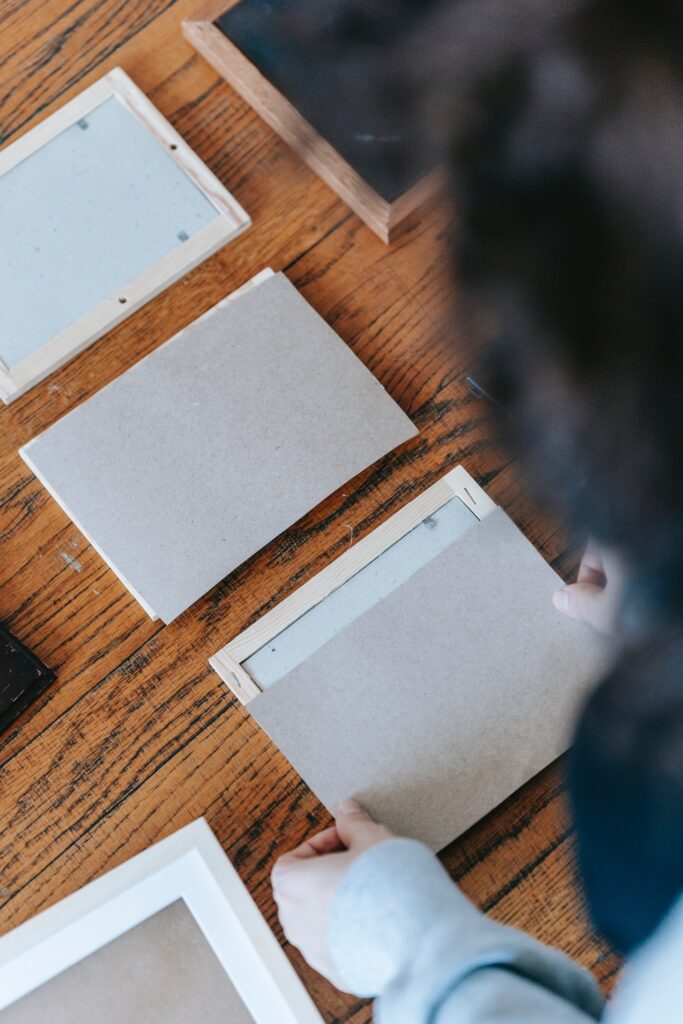
Now that I’ve collected all my frames, I brought them home for the final steps. Make sure you clean all your frames and now you get to put it all together! To decide on the placement of all the frames you have two different options!
Option 1: lay out all the frames on the floor and move them around until you’re happy with the style and spacing.
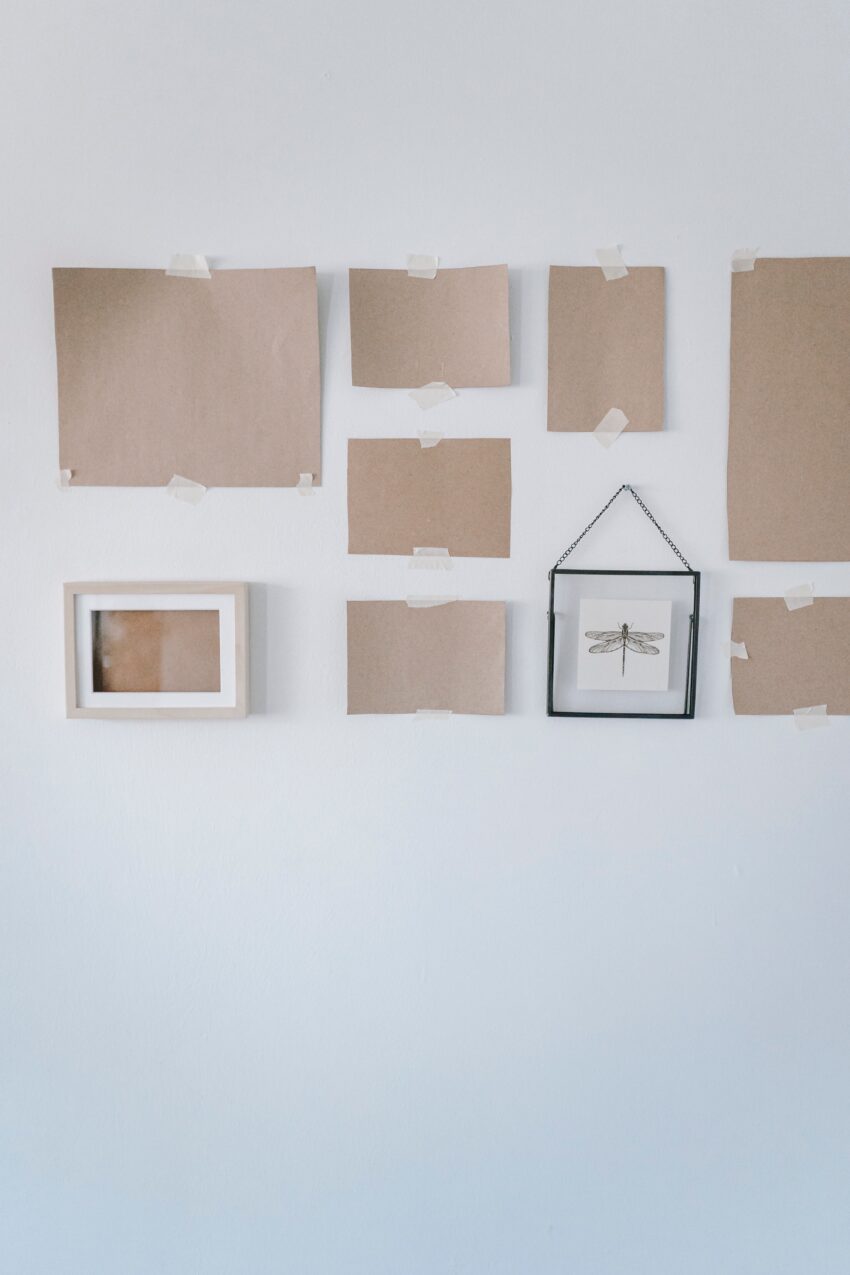
Option 2: (My favorite method)Find wrapping paper or newspaper you don’t mind using and trace each frame with a marker. Once you’ve traced the frames on the paper, cut them out! Now grab some painter’s tape (other tapes could peel the paint off your walls) and tape each cutout on the wall. Move the cutouts around until you’re happy with the layout! This part gets me every time! It takes me a while to find a layout I love. I often have to take a break and come back later with a fresh set of eyes!
Once you have the layout finalized, you can start hanging each picture frame! *If you want tips and tricks for hanging pictures, I have a blog post dedicated to just that!*
Step 5
Your gallery wall is nearly done! All you have to do is find those pictures you love and print them off! My favorite place to print pictures is Costco. It takes a little longer to get them, but it’s the cheapest I found. And there you go, you have a beautiful, affordable gallery wall! I only spent a total of $60 and that’s including the pictures!
Keep following along for more budget-friendly projects!
